
My new project in the works is Solitaire – Deb Tucker’s version of the Card Tricks pattern. I’ll be teaching Solitaire at a quilting retreat at Divine’s Fabric Nook in Cranston, RI in February.
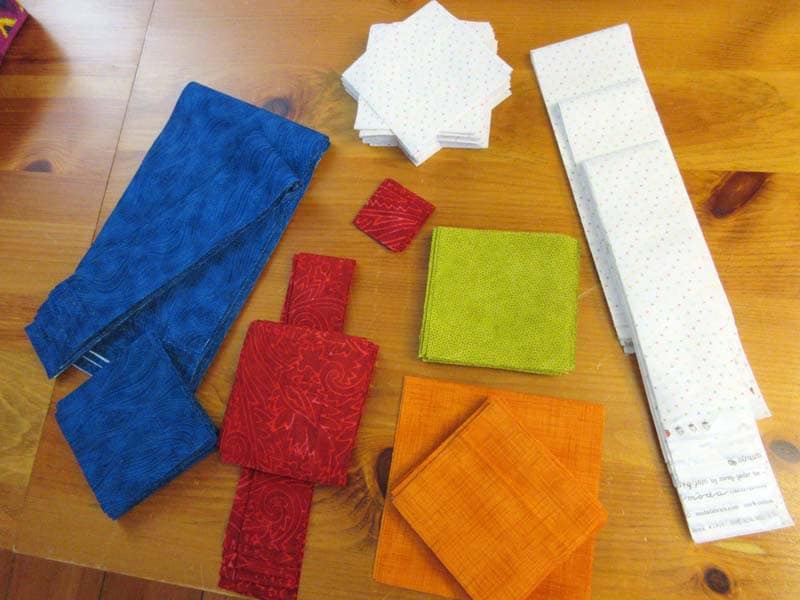
First, I cut up all the pieces needed for the top. For once, my choice of fabrics was easy. Like the quilt on the cover of the pattern, I chose red and green, and blue and orange: two sets of complementary colors. For extra pop, the blue and red are my dark fabrics, the green and orange are my medium fabrics, and my light is a white-ish fabric with different colored Xs on it for the background. Most of the fabric was from my stash. I only needed to buy the background.
With my trusty Tucker Trimmer 1, I’m making 84 Half Square Triangle blocks, 160 Combination blocks, and 20 Hourglass blocks – all three blocks with the same tool.
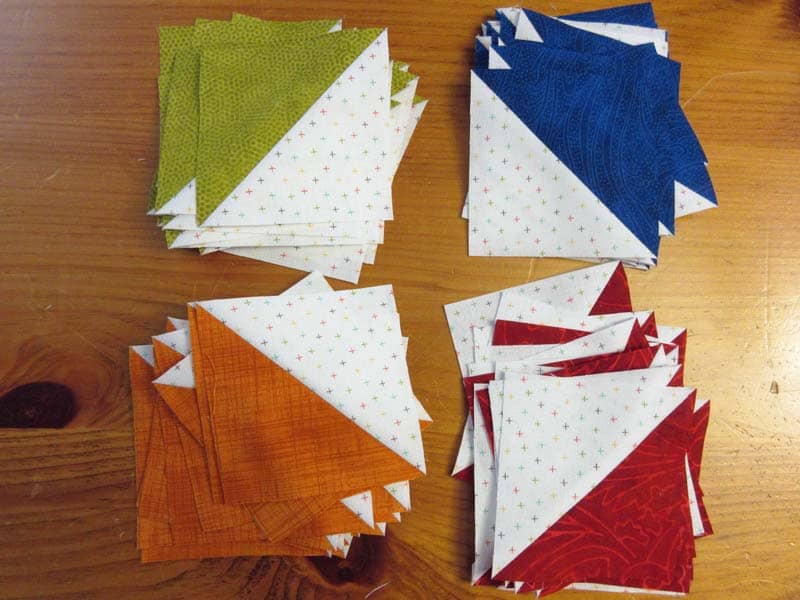

The Half Square Triangle blocks and the Combination blocks were made according to the directions that came with the Tucker Trimmer: position, draw lines, sew on the lines, cut apart, press. Notice that the Combination blocks come out as mirror images: half with the large triangle on the left, and half with the large triangle on the right. One set will be used for the Card Tricks block, and the other set will create the border. Two for the work of one! 🙂
The hourglass blocks, though, were a different story. If I used the sew and cut, sew and cut method I usually use, the hourglass blocks would also come out in mirror images. For this pattern, they need to be all exactly the same, with all four colors in the correct orientation. So I’m back to the traditional method of making hourglass blocks.

I cut squares of each color, then cut the squares twice diagonally to get the triangles I need for the hourglass block. Piecing triangles is tricky, and the seams must be accurate. You don’t want to stretch those bias edges. I need to make sure that once sewn, the long diagonal of the two pieces are straight.


When I sew the two halves together, the points and seams must line up so that all the seams will eventually go into the corners and the block won’t be stretched or wonky. I pin like crazy to make sure.
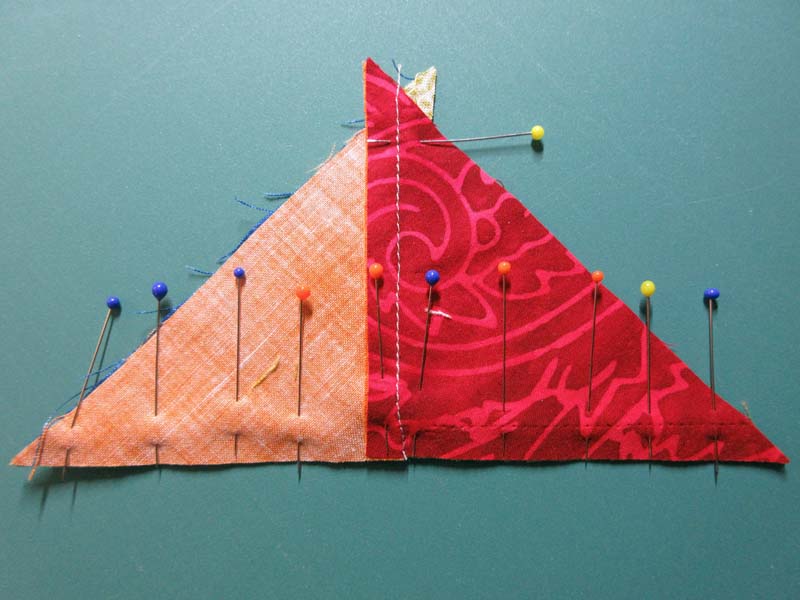
Whew! It worked! Once trimmed, they’ll be perfect. 🙂


Spinning the seams on the back creates a nice, flat intersection.

Luckily I only need to make 20 of these blocks.

Watch for my next post, where I’ll be using all three units to create the Card Tricks blocks. See you soon!
Follow Me on Social Media!