
This week I worked on the Diamond Four Patch Wedge Star, which is another Technique Sheet for the Wedge Star tool. This makes the 5th kind of block I’ve made with the tool – lots of bang for the buck.
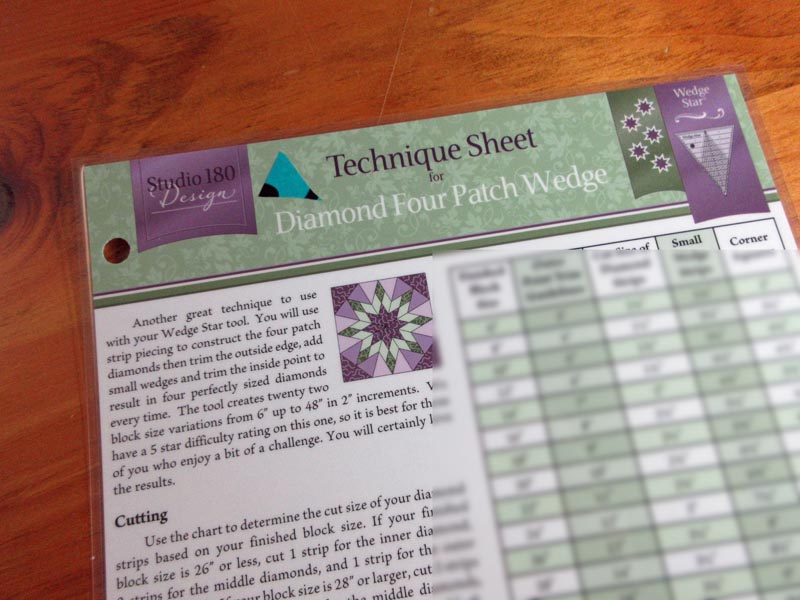
This is a 5-star technique, which means it is suited for intermediate to advanced quilters. However, a beginner who has some patience and is willing to be a little fussy can make this intricate block with the Wedge Star tool. As always, the sections are pieced to be oversized, then are trimmed down to the perfect measurement.
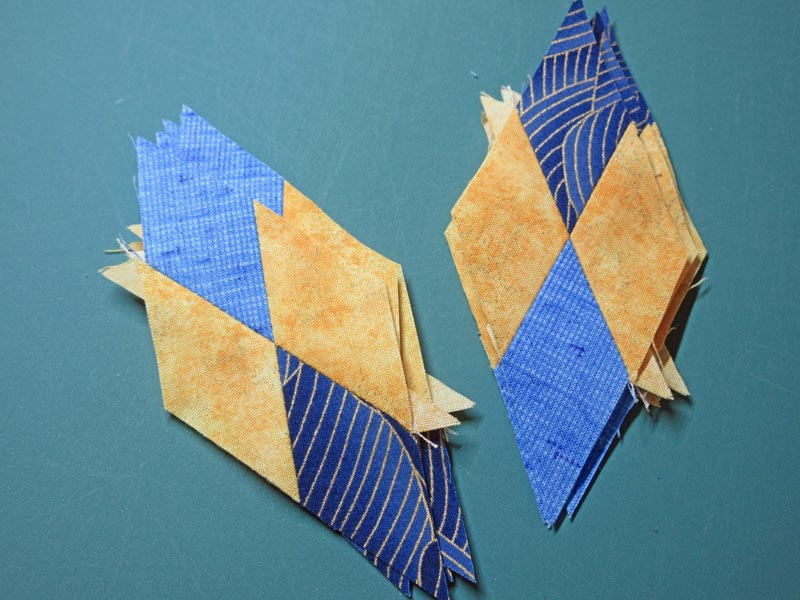
To make the 4-Patch diamonds for the star, I start by making strip sets. One set is made from the fabrics of the center diamond and the middle diamond (dark blue and yellow), and the second set is made from the fabrics for the middle diamond and the outer diamond (yellow and light blue).

I cut the strips sets at a 45 degree angle to get the diamond pairs.

Then I sew the pairs together to get the 4-patch diamonds.
This is the tricky part that requires patience and fussiness. You want that intersection in the middle to be perfect, to get the nice sharp points for all four smaller diamonds. And here’s how you do it!
You need to mark the 1/4-inch seam allowance at the seam line on each piece. With the pairs right sides together, insert a pin where the drawn line crosses the seam in one pair, then the other.

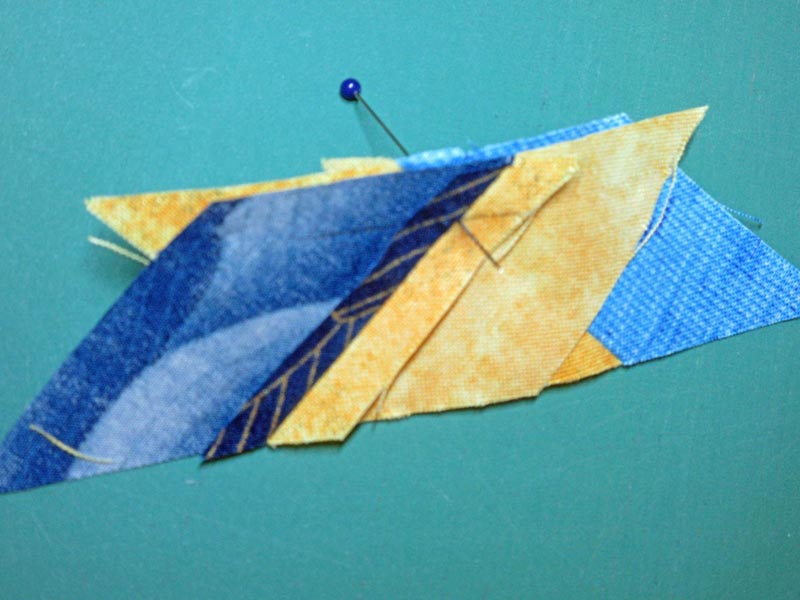
Make sure the pin is straight through to line up the intersections. Use several pins to hold the pairs in place, and sew the 1/4-inch seam.
Don’t worry if the intersection on the front doesn’t line up the first time. I had to un-sew several before I got them right. Argh!

It’s *so* worth it to take the time to get those points right. Look at the result!
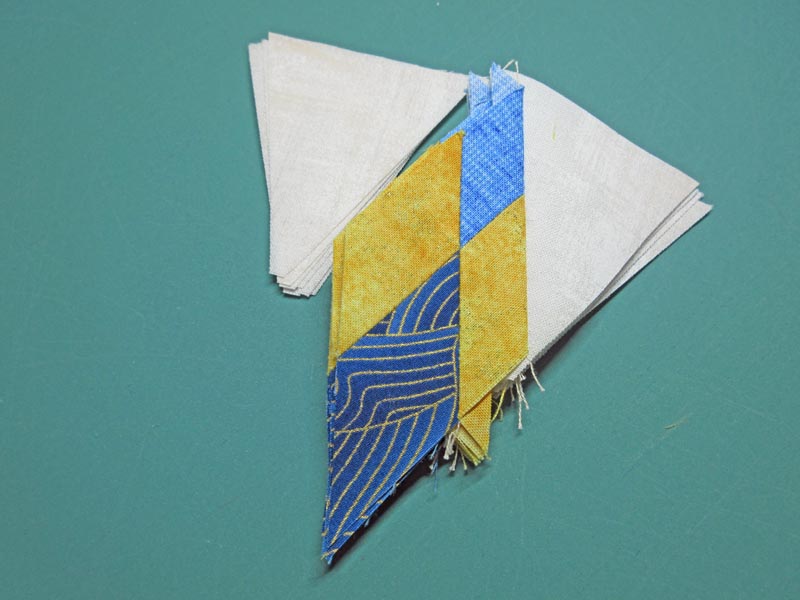
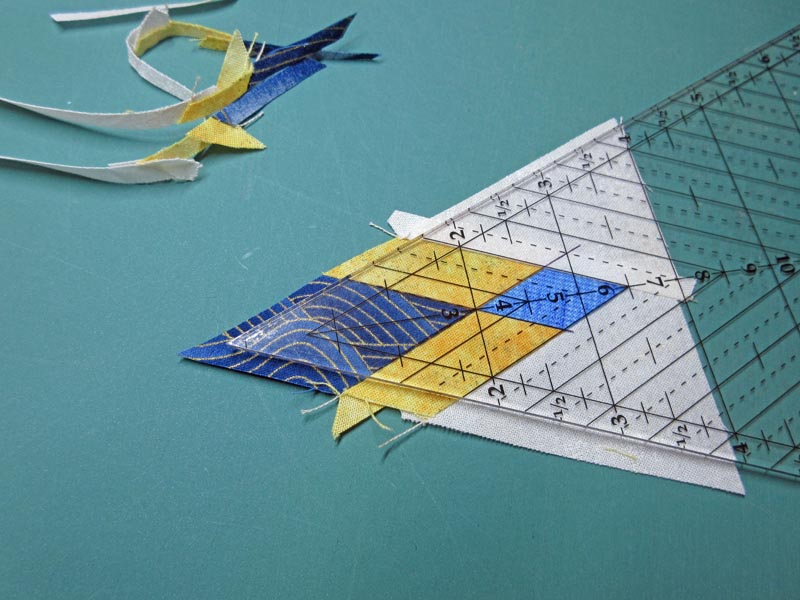
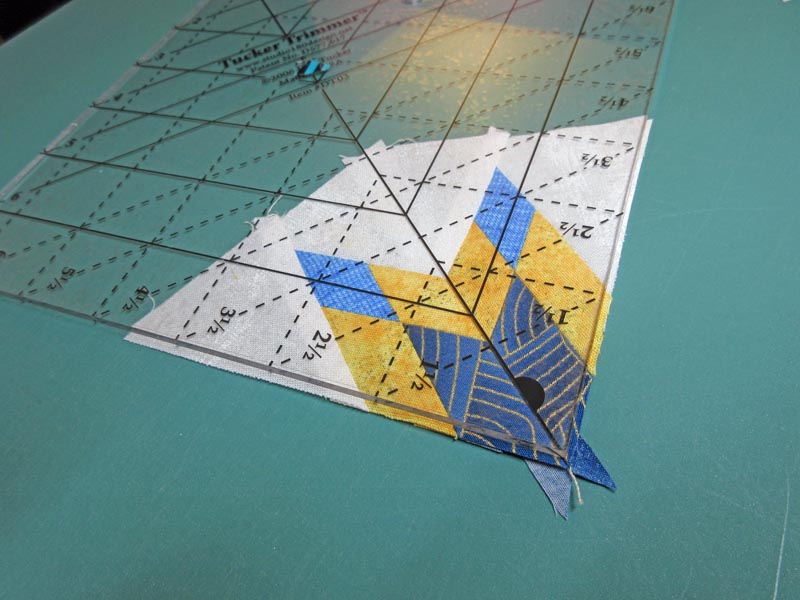
Following the instructions on the technique sheet, I trim the outer points (light blue) of these diamonds with the Wedge Star tool to get the correct size and shape.
Now, the construction of the block is the same as the other blocks I made. Referring back to the Wedge Star Tool instructions, I add a background wedge to the right side of the 4-patch, then to the left side.

I trim the wedge to the correct size and measurement.
I sew two wedges together to make 1/4 of the block, matching the seams and points. Then I trim the corner to get a 90 degree angle.

I sew two quarters to make half a block, then sew the two halves to get a complete star, always matching the points and seams.

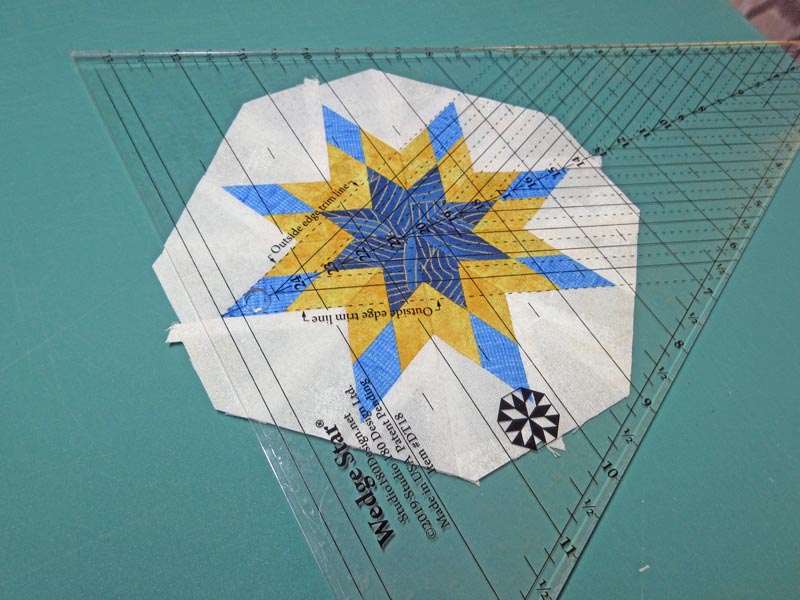
Wow! Look at all those sharp points! It was a lot of work, but *so* worth it.
To turn the octagon into a square, I trim four alternating wedges which will be the corners of the final block.
I add the corners, and trim to make the final block square.

What a fabulous block! And think of all the variations that could be made of this block just by changing out colors and fabrics. If I had used background fabric instead of the yellow, the star would look more like an explosion. Making the corners different colors could create all kinds of secondary designs. Lots of design possibilities!
I’m done with the Wedge Star tool for now. I’m moving on to the Corner Pop tools – yes, plural, tools! Stay tuned to see the fun I have popping all kinds of corners.
Until then, keep on sewing!
Follow Me on Social Media!